Running your code
Run a circuit from the Code tab: open the runner, set your shots, pick a backend in the Select QPU dialog, and read the results.
The Code tab has two modes: an editor and a runner. The Code Playground lesson walks through a run in full.
1. Open the runner
On the Code tab, click Run Project to switch from the editor to the runner.
Shots are set in your code. Pass them to the run call, as backend.run(circuit, shots=100). To set them when you run a Python project, give main() a shots: int parameter and pass that parameter to the run call. The parameter becomes a Shots field under Run settings in the Select QPU dialog. Leave the argument out and the backend's own default applies, which is 1024 on both the built-in simulator and the IonQ backends.
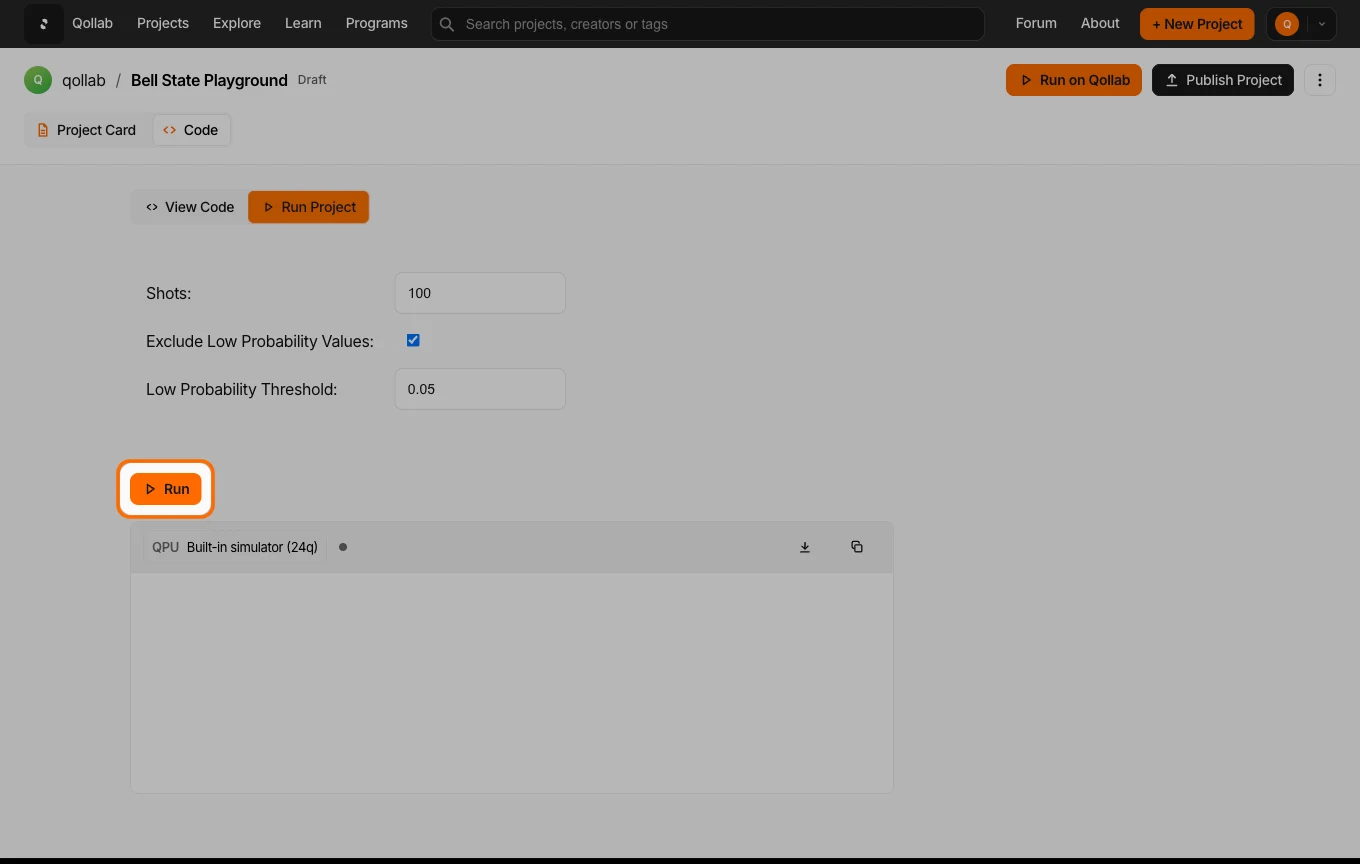
2. Pick where it runs
Press Run, and the Select QPU dialog opens. Choose a backend: every simulator is free, the built-in simulator starts immediately, and only real hardware uses credits. The full list is in Compute backends.
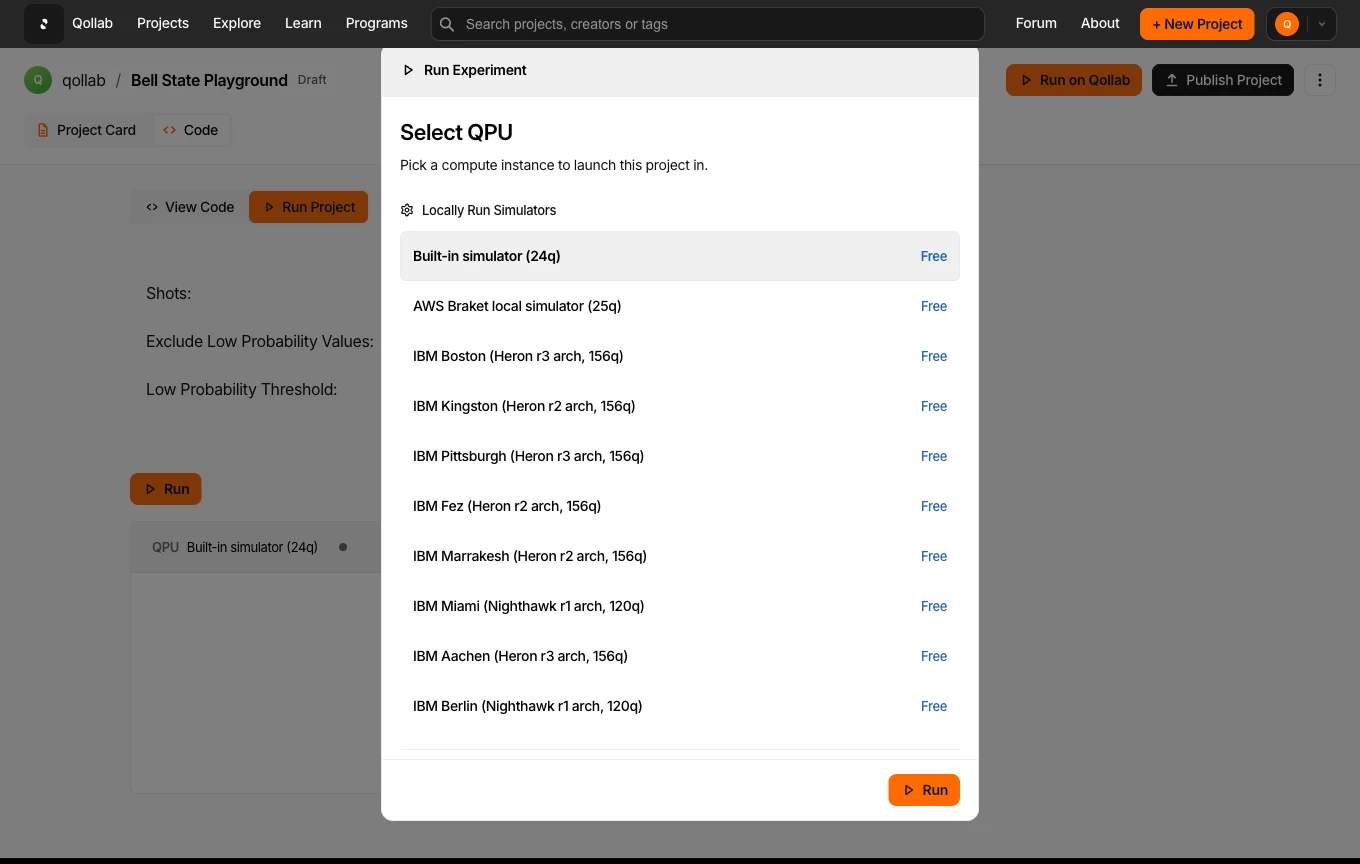
3. Run and read the results
Press Run in the dialog. The console tracks progress, then shows what your code prints with print() in a Python project or console.log in a JS project. On the built-in simulator and IonQ backends, a Probabilities panel beside the console charts each outcome's share of the results. IonQ runs add a Circuit panel with the submitted circuit.
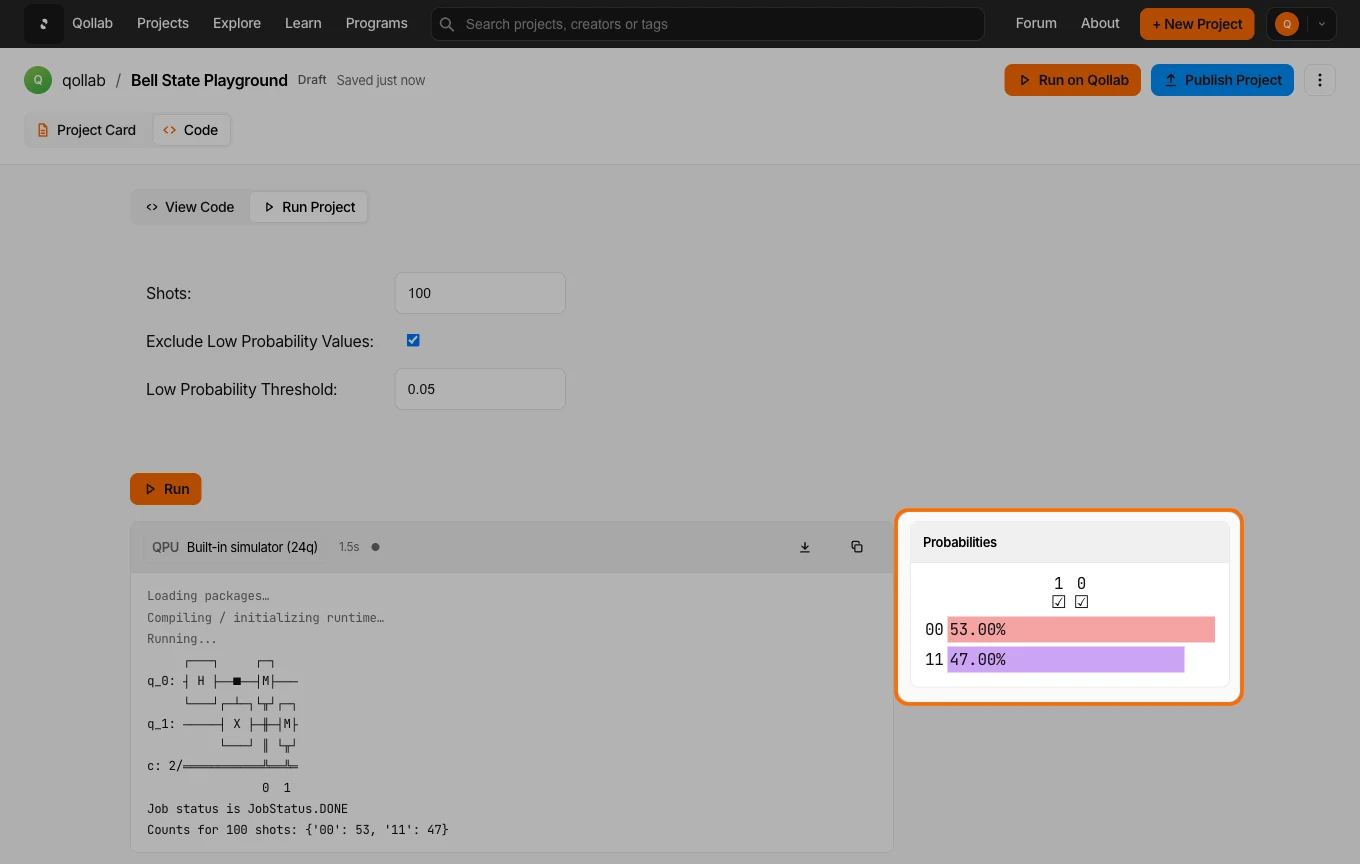
The toolbar above the console has copy and download buttons, so you can paste real results into your project write-up.
Job states
A run on an IonQ backend, simulator or hardware, moves through a fixed sequence of states. IonQ documents six. The middle column is the name Qiskit reports, which is the one that reaches the runner.
| IonQ state | In Qiskit | What it means |
|---|---|---|
submitted | initializing | The request has gone to the IonQ Quantum Cloud, and the job is being checked, verified and compiled. |
ready | queued | The job has been accepted and waits in the queue until its target system is available. |
started | running | The job has begun running. On a QPU that can mean it is executing on ions, and it can also mean the job is in a partially finished state. |
completed | done | The job has finished and its results are available. |
canceled | canceled | The user canceled the job. |
failed | failed | An error stopped the job, and that error comes back with the job when it is retrieved. |
Simulator runs pass through these states quickly, so most of the sequence is never visible on a free backend. The ready state is the one you actually see on a hardware job, where the run waits for its target system to be available. A job reporting started is not necessarily close to returning results, because IonQ says that state can also mean a partially finished one.
A failed job returns the error that stopped it. Read the name in the run console, then look it up in Error reference.
IonQ documents these states but publishes no queue mechanics, wait times or job timeout. To check whether a system is up, see status.ionq.co.
Related
Stay in the loop.
Get the latest tutorials, demos, and project showcases straight to your inbox. No noise, just the good stuff.
Enable JavaScript to sign up.
Qollab updates only. Unsubscribe any time. Privacy Policy.
On this page
Running code