Run a circuit in JavaScript
Combine top-level HTML and JavaScript with project modules, Python files and Qiskit in one browser-based project.
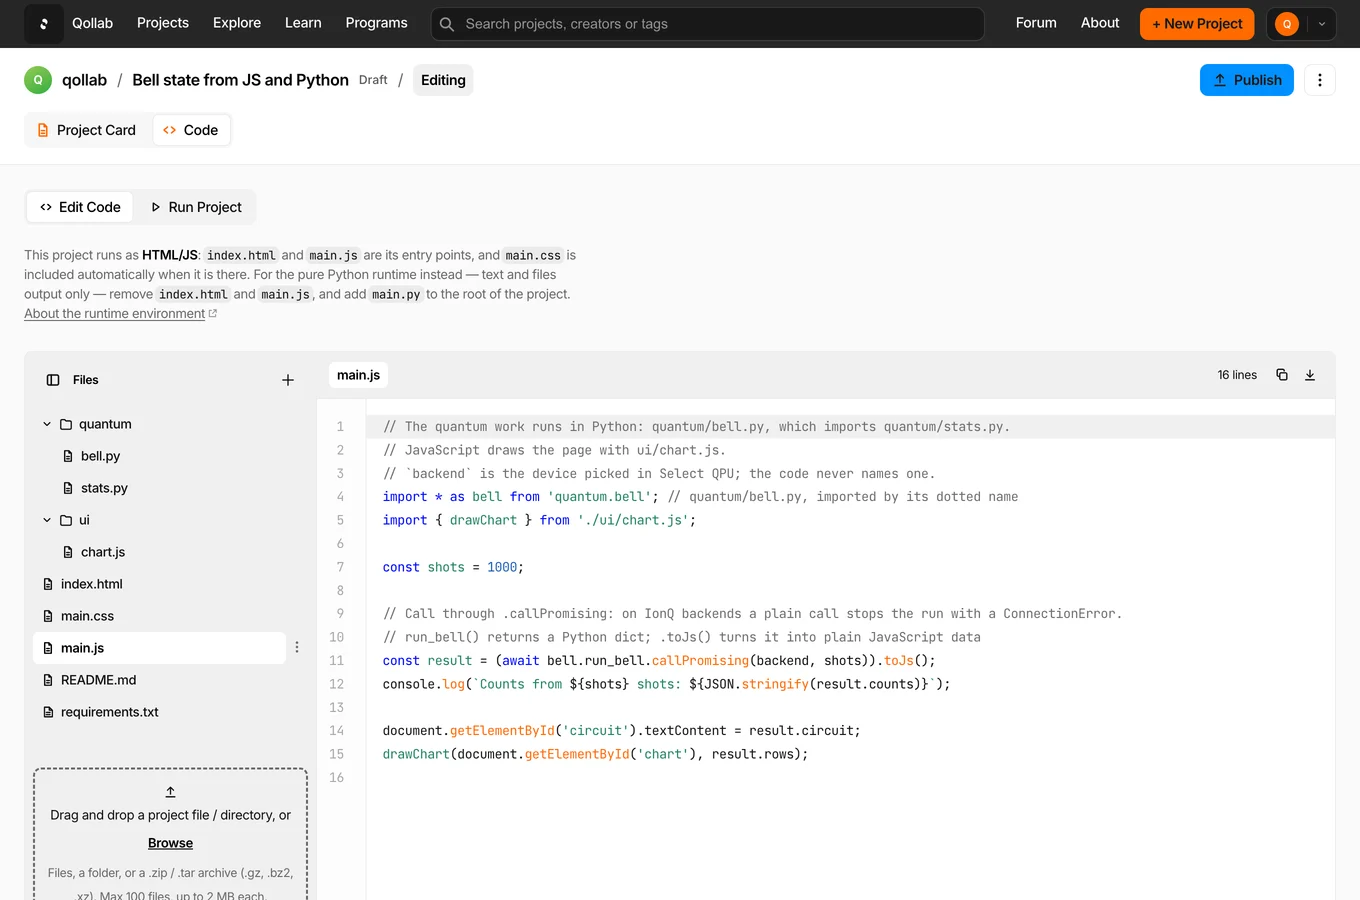
A JS / Qiskit wrapper project combines an interactive web page with browser-based JavaScript, Python and Qiskit.
Most of this track uses a Python / Qiskit project. If you are following that route, you can continue by forking a project.
Create the project
Choose JS / Qiskit wrapper under Project shape when you create a project. To bring an existing web project, choose Upload your own files and include index.html and main.js at the top level.
Organize the project files
Keep index.html and main.js at the top level. The starter also includes main.css and requirements.txt. You can place other JavaScript and Python modules in folders and import them from main.js.
Qollab renders the page above the console when the project runs. The top-level index.html supplies the page, while main.js supplies its script. A top-level main.css is optional.
Write JavaScript and Qiskit together
Qollab runs Qiskit's Python API inside JavaScript. The reviewed JavaScript example below uses the current conventions:
import { QuantumCircuit } from 'qiskit';

// No `new`: call the constructor like the Python API
const circuit = QuantumCircuit(2, 2);
circuit.h(0);
circuit.cx(0, 1);
circuit.measure([0, 1], [0, 1]);

// `backend` is pre-created; run() is async and returns a job
const job = await backend.run(circuit, { shots: 100 });

// Python objects come back as proxies; .toJs() unpacks them
const counts = (await job.result()).get_counts().toJs();

// Render into the HTML you defined
document.getElementById('legend').textContent = JSON.stringify(counts);
Import your JavaScript files with paths that start with ./ or ../; the .js extension is optional. Import a Python file by its dotted module name without .py, using named imports or import * as.
The reviewed guide also covers project imports, named arguments, polling job status and drawing a circuit as an image.
Run the project
Open Code, select Run Project, then select Run. You can also select Run on Qollab from the project header. Both paths open the Select QPU dialog.
Choose a simulator or quantum computer, then select Run in the dialog. Simulators cost nothing on qollab.xyz. Hardware runs use credits.
Use console.log() for values you want in the run console. The rendered page remains above the console, so its controls can stay interactive while you inspect the output.
Browser compatibility
The JavaScript project supports Chrome, Edge, Opera and Firefox 153 or later. Safari is not supported.
Stay in the loop.
Get the latest tutorials, demos, and project showcases straight to your inbox. No noise, just the good stuff.
Enable JavaScript to sign up.
Qollab updates only. Unsubscribe any time. Privacy Policy.